Below are two quick Zazzle How To Videos
To follow along with this Zazzle How To, you can go to the Zazzle product that I am customizing in this video.
There is no sound. Watch and learn how to use Zazzle to create and edit your own gifts or products.
Zazzle Tutorial video: HowTo Create your own Xmas Gifts
Click the bottom right corner icon to ENLARGE this video.
Here’s what is covered in the Zazzle How To video above.
- From the Zazzle home page click the three lines to the left of the white zazzle logo
- Scroll down to the Create Your Own tab and From the flyout select the product you want to create. (See Screen Shot)
- Click Upload Images in the top left column browse to find and select your artwork from your computer.
- Once uploaded the art should appear in the work area in the middle of the screen. The art will probably fill the area by default. To Resize and reposition your artwork select it and drag a corner node to resize it.
- Show and hide layers by clicking the eye Icon in the left column next to the name of the contents of that layer.
- Add by clicking the T tab in the top left column and click the Add Text tab. With the text selected you can change the Font and other text settings with the tools in the right column.
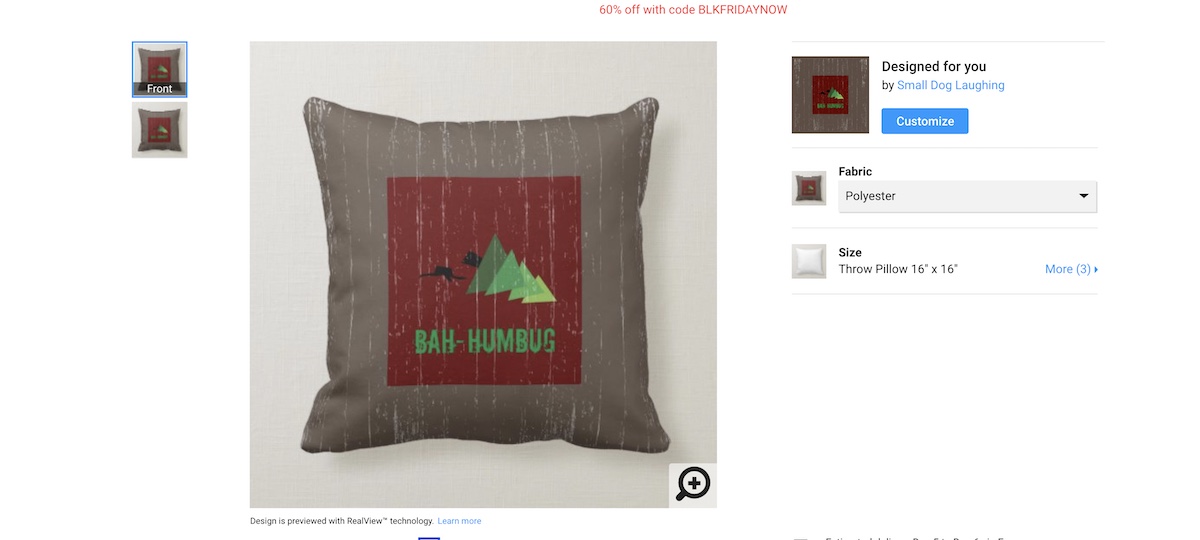
- You can add a background-color to some Zazzle products like this pillow by selecting the BKGround tab in the left and then selecting the color in the swatch palette.
- When finished making changes to your art and text click done.
- To Sell your finished product click the Sell Product Button in the right.
- Give you product and title and description and fill out the other fields on this page. Put a check in the box at the bottom and that should do it.
How To use Zazzle editing tools to create a Xmas product (part 2)
Click the bottom right corner icon to ENLARGE this video.
Here’s what is covered in the video above:
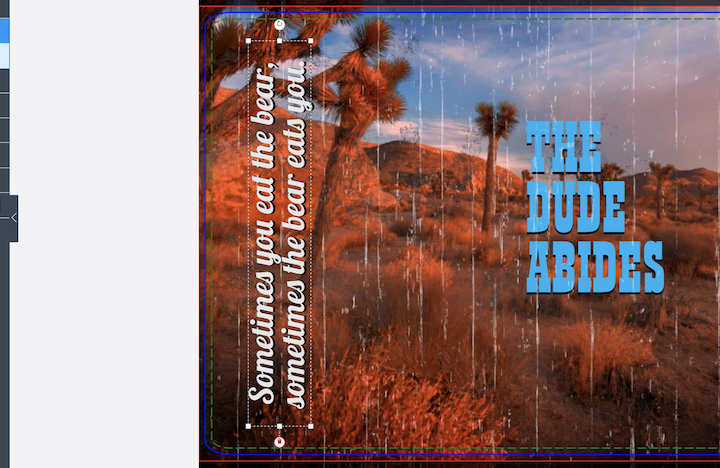
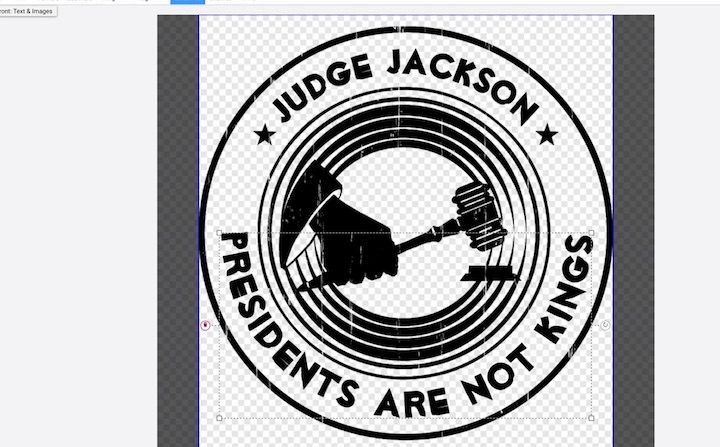
- How to rotate your art.
- Add and edit text
- Resize and reposition your artwork
- Add and edit basic shapes and use them as backgrounds
- Show, hide and arrange layers in the layers palette
- Upload, resize, copy and paste textured background art. In the video, I used keyboard shortcuts Command C to copy the white textured wood pattern and command V to paste a copy of it. Then I repositioned the copy of the image to fill the space by moving it over and flipping it horizontally.