Watch the video below to learn how to open and close the layers panel, change the text placement, style, size and color to customize a Zazzle product.
- To follow along, click the link to go to the Zazzle product that I am customizing in this video.
- Click Customize to start editing the Zazzle product.
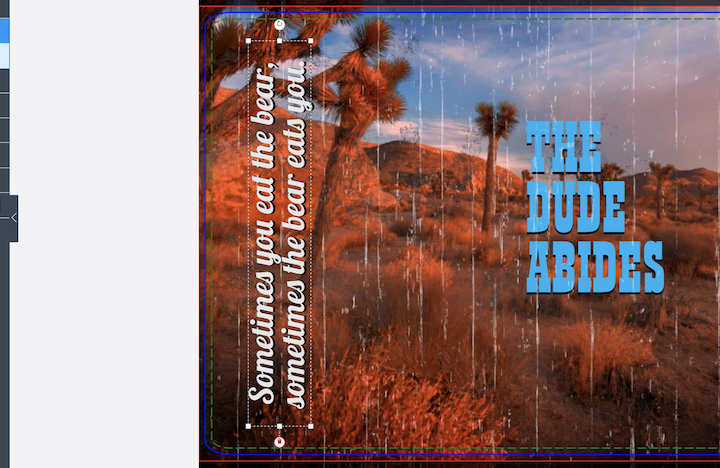
- When you first arrive in the customization area you should see your layers panel on the left, the work area in the middle and your editing tools on the right.
- The layers panel is probably open by default but if it isn’t you can open it as shown in the video by clicking the arrow about halfway down the column or clicking the Layers icon at the bottom of the left column.
- To add text click the T in the upper left corner
- Type the text into the Add text field
- To resize the width of the box grab a center node of the text box.
- You can also resize the text drag a corner node.
- Change the font and font size using the tools and settings under Edit Text in the right column .
- To change the color of the text, with the box selected, pick a color from the main panel of colors.
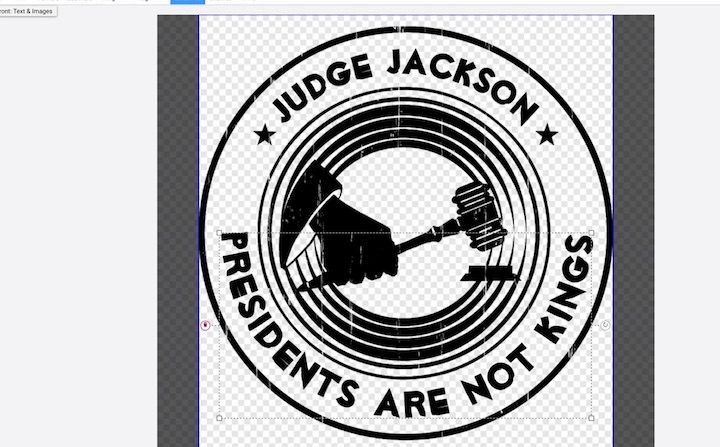
- You can also use the eyedropper tool to select a color in your artwork to use for the text.
- When you move the eyedropper over an image it zooms in to show each pixel in that area. Select the square that is the color you want your text to change to.
- Once you have used a color it will appear in the recently used colors section so you can use it again for other elements if you like.
- Once you are finished editing the text click done in the upper right corner.